Ink Spots of RichmondHill Exhibition
This fantastic exhibit took place on January 25 and 26, 2025, at the Mill Pond Gallery, which showcased a selection of talented and diverse artists from the community. Greg Chiykowski skillfully led the event and I had the honour of being one of the ten participating artists featured in this memorable experience. Notably, this innovative project and the talented artist Greg Chiykowski received recognition as the recipient of a prestigious City of Richmond Hill Community and Culture Grant. The two ink pieces displayed below were my thoughtful submission for the show, contributing to the collective expression of creativity and passion for ink making.


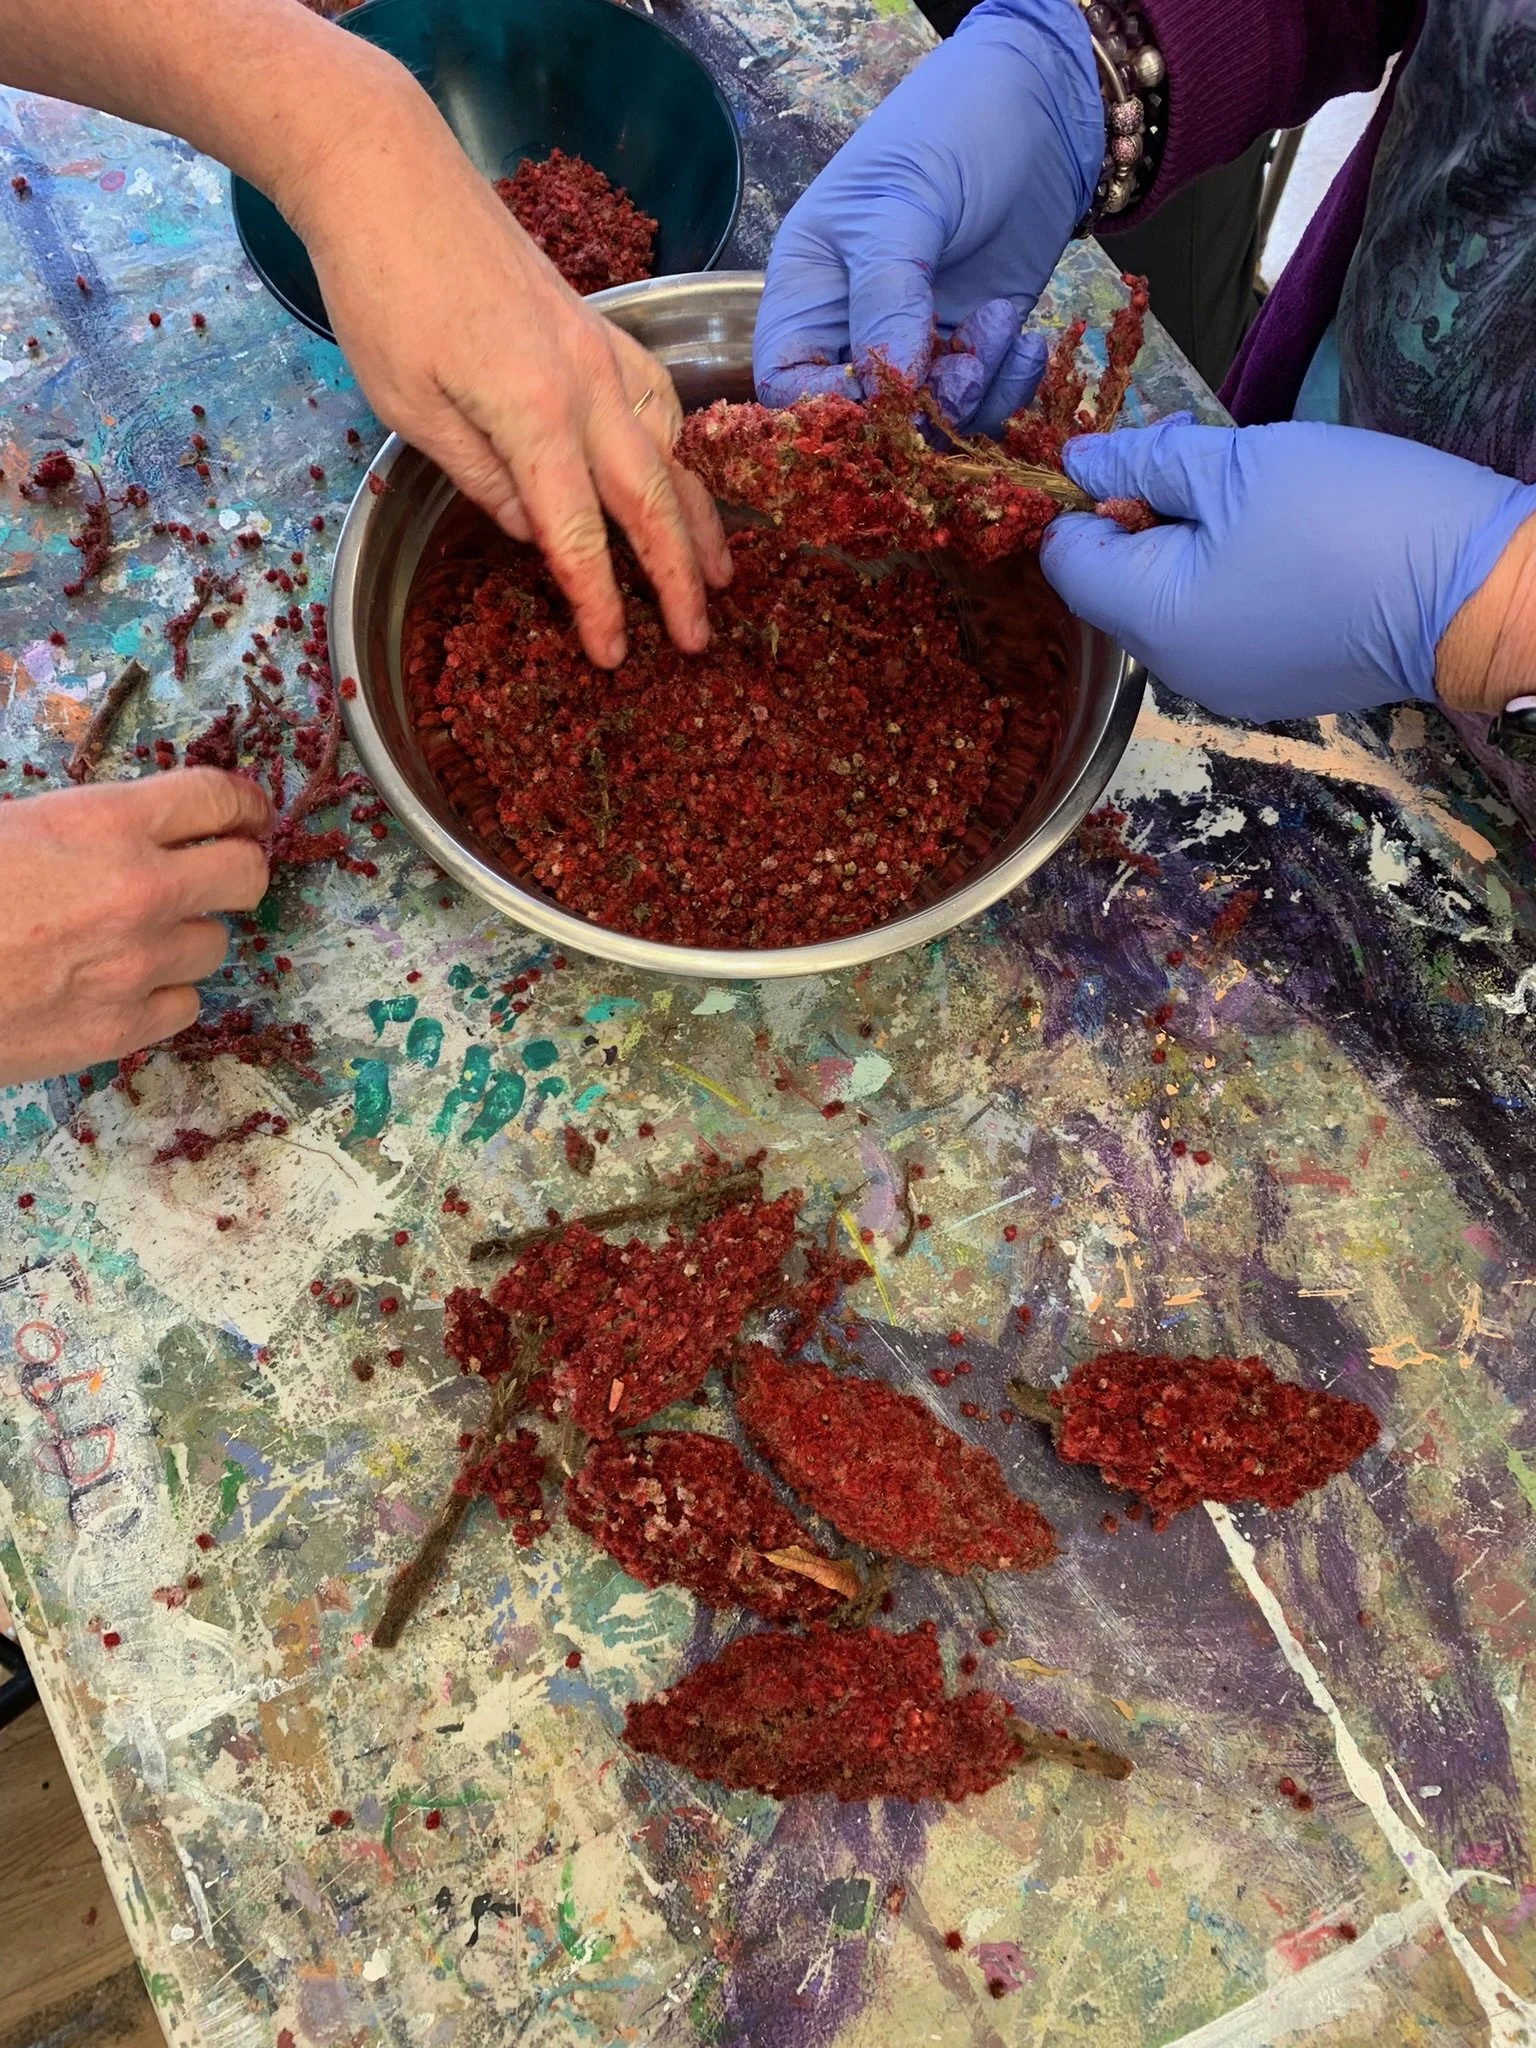
A little about the ink making workshop.
Back in October, I had the wonderful opportunity to attend a botanical ink making workshop that was expertly led by Greg Chiykowski, who is not only a talented local artist but also a skilled artisan in the art of ink making. During this enriching experience, we created two distinct types of inks derived from sumac and wild black walnut, both of which grow abundantly in the areas surrounding the gallery. We spent a delightful afternoon meticulously removing the walnuts from their husks and carefully picking the vibrant sumac from its branches. The black walnut yielded a stunning array of colours, showcasing shades of beautiful yellow ochre and rich burnt sienna. Meanwhile, the sumac produced an exquisite pink hue that was truly remarkable. After the inks had boiled and simmered to perfection, they were then poured into small glass vials, and we dedicated the remainder of our time to enthusiastically testing and experimenting with the various inks we had created.


Materials & Process
Working primarily with watercolours did assist me when I began to work with the black walnut and sumac ink. However, I did make a few discoveries. I realized many layers are needed to make the darkest values much more than the watercolours I typically use. The black walnut and sumac ink were even more transparent and lifted much easier than watercolours. No matter how much I adjusted the water-to-ink ratio (or straight out of the vile), I still had to apply several layers to get the desired darkest value. Of course, both mediums are different and will react differently to the paper.
Another realization was the quality of the watercolour paper you use matters. When experimenting with both inks at the workshop, I used the Etchr Sketchbook, which contains acid-free mixed media heavy-weight hot press paper (220gsm, 100% cotton). It is ideal for pen and ink, watercolour and gouache. The wild black walnut and sumac retain their colour nicely, and as you can see, the sumac retains its ruby red. I’m able to use a dip pen to make crisp lines. However, the sumac ink did not maintain its vibrancy or colour when I used a different type of watercolour paper. The paper I used was the Academy Watercolour Paper pad from Baohong. This paper is hot press, acid-free, 100% cotton paper and suitable for pen and ink, but for some reason, the sumac turned into a purple-grey, which is also beautiful but not the desired colour for my final pieces.
When researching how Baohong created their paper, I found that it is traditionally sized internally and externally with traditional gelatin. Other brands like Arches use a similar technique. That may be where the chemistry of the ink and the paper interact and react, which is fascinating to observe. Depending on the texture and absorbency of different watercolour papers may affect how the mediums perform on the paper's surface. Let's not forget that the quality or type of pigments will also determine the outcome. I'm very interested in researching why the colour changed and look forward to experimenting on different surfaces. I'm not implying that this brand of watercolour paper is inferior, but chemistry matters and learning about your materials is crucial and enjoyable in the creative process.
Below is a time-lapse of how I created one of the pieces I painted for the exhibit. I began this piece the same way I would approach my watercolour paintings. I start with a drawing and then apply a light wash all over the paper. Next, I shape the rocks and slowly build up the values, dancing between dark to light and focusing on the mid-tones. I’ll let the video show the process. Enjoy!